

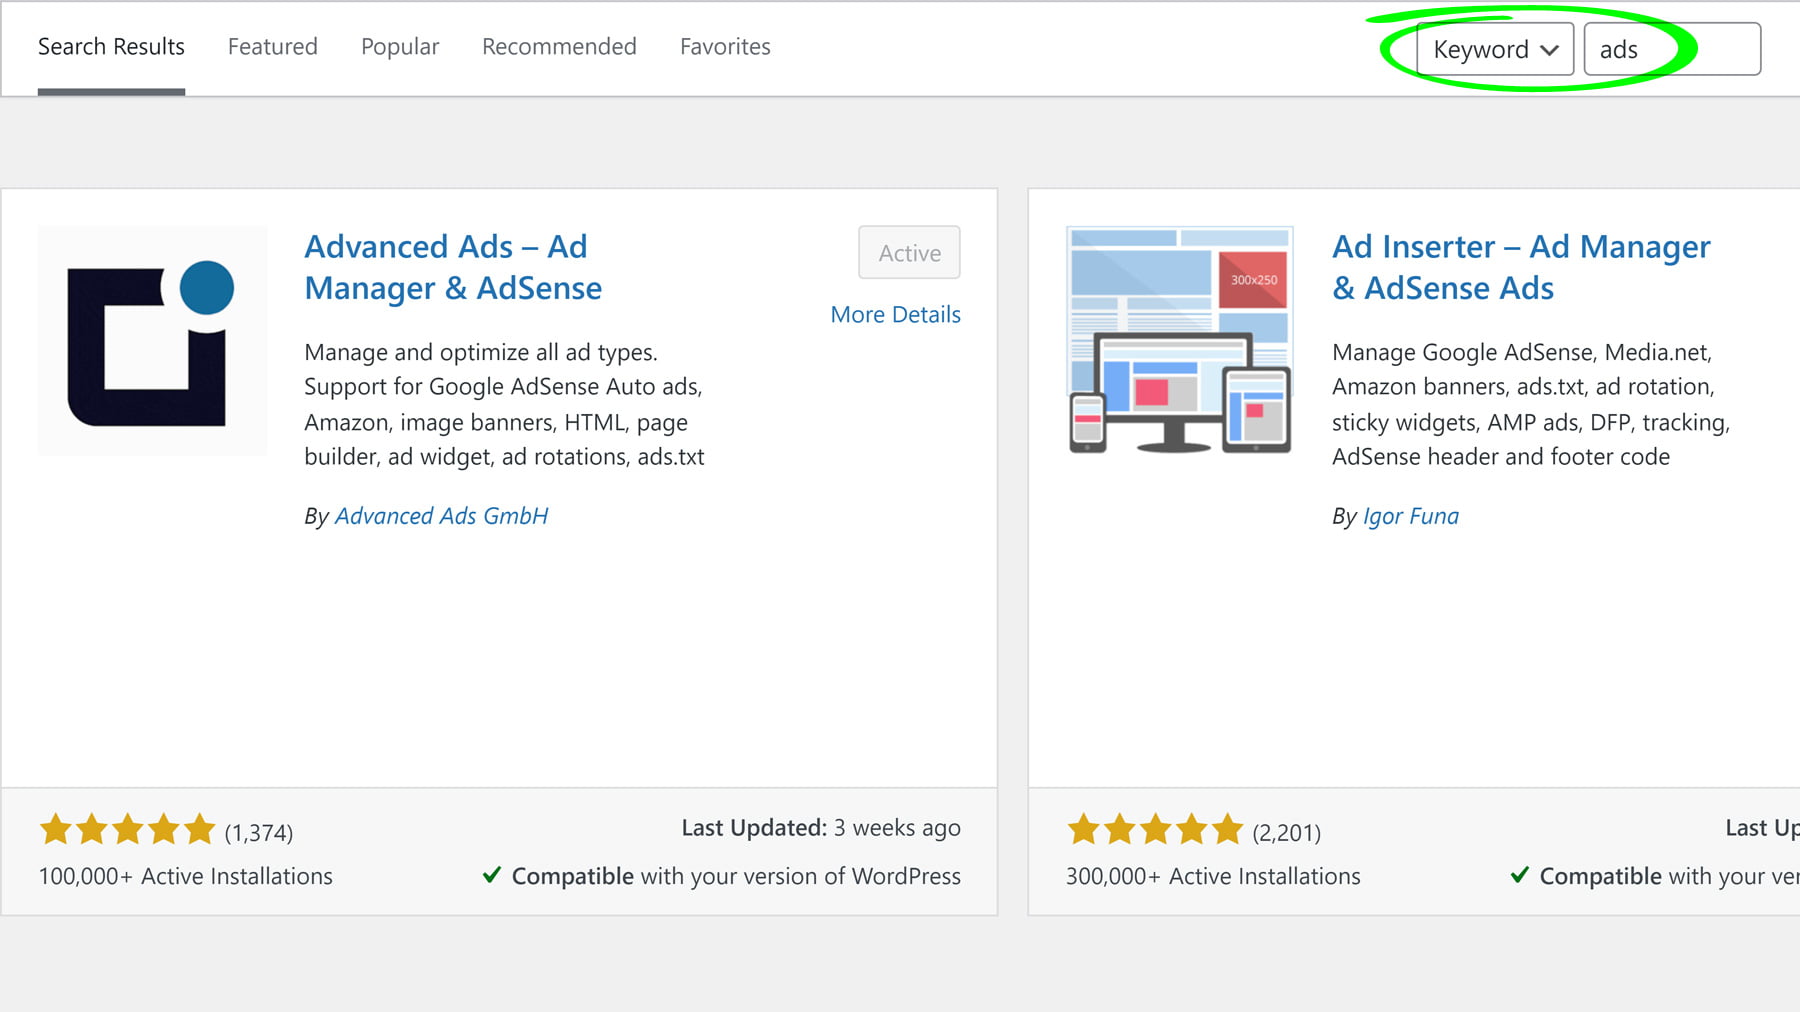
Effectively managing advertising on a WordPress website can be a complex and time-consuming task, but the availability of robust plugin solutions has significantly simplified the process. Two of the top WordPress ad management plugins that have gained recognition among publishers are Advanced Ads and Ad Inserter.
In this article, we will focus on reviewing two of the top WordPress ad management plugins which are highly recommended by publishers: Advanced Ads & Ad Inserter.
Advanced Ads
The Advanced Ads plugin lives up to its name by offering valuable features for publishers with intricate ad configurations, all without the necessity of upgrading to a Pro version. The team responsible for this plugin has shown commendable dedication by regularly releasing tutorials and promptly attending to support requests.
This commitment to user assistance contributes significantly to the overall appeal and functionality of the Advanced Ads plugin, making it an essential tool for those looking to optimize their advertising strategies effectively.
Advanced Ads offers publishers robust ad scheduling and rotation features, allowing them to set precise start and end dates for ad campaigns. This functionality ensures the timely display of seasonal promotions and helps prevent ad fatigue through ad rotation.
Publishers can experiment with various ad variations, placements, and sizes to determine what resonates best with their audience, ultimately maximizing ad revenue. The plugin provides a wide range of ad placement options, including automatically injected placements like before and after content, widgets, and specific paragraphs using shortcodes.
This flexibility enables publishers to tailor ad placement to their content effectively. Additionally, the All Access plan expands placement options to include pop-ups, sticky ads, background ads, and more. For further guidance on implementing Advanced Ads, tutorials are available on YouTube.
Here’s the order or guide you can follow for implementing Advanced Ads:
#1 – Create Placements
Define placements for the positions on your website where Advanced Ads will automatically insert ads.


#2 – Create Ads
Create an image ad, add an ad code, or import ads from your AdSense account. Then set the Display and Visitor conditions to precisely target your audience. Generate as many ads as necessary, depending on your needs. Finally, publish the ad and assign it to a designated placement.

#3 – Create Groups and Rotations
By grouping multiple ads into ad groups instead of assigning single ads to your existing placements, you can enable ad rotations, grids, and split tests. This approach helps prevent banner blindness and ensures effective performance of your ads.

Integrate smoothly with Google Ad Manager
What sets Advanced Ads apart from the competition is the integration with Google Ad Manager. Once you’ve linked Advanced Ads to your account, importing ads directly from your GAM account and assigning them to your placements becomes a straightforward one-click process.
The incredibly cumbersome task of managing various body and header tags is replaced and streamlined through an intuitive interface providing features like Size mapping and Key-values targeting.

Ad Inserter
Ad Inserter is a good starting point for publishers. If your ad setup is simple and straightforward, the free version of this plugin is able to handle ad management quite seamlessly. It offers a wide range of flexibility as to which section of the page you’d like an ad inserted. You can also exclude certain pages or sections where you don’t want the ad to show. Their customer support is also solid!
To insert the ad somewhere on your webpage, select an option from ‘Insertion’ dropdown:


Depending on your selection, you can then expand or click more settings to further specify the exact location of the ad:


Once all setting are changed, click ‘Save all settings’ and your ad is in production!


The ad rotation capability is also helpful if you need to A/B test different creatives:


Limitation
If you have a more complex ad setup, for instance, you need to separate the tags depending on your site Ad Map (e.g. separate for homepage vs content pages), you don’t get ‘Automatic Insertion’ unless you create a “Hook” (more details below).


You can always deploy a universal / “Run-of-Site” header code. When inserting a tag, you might encounter an error message that says “Code in the section of the HTML page DISABLED”. All you need to do is click the button (as pointed by an error below) to enable it.


Once saved, it turns into green, the word ‘DISABLED’ disappears and notice the ‘Header’ tab label turned into blue?:


There’s also an option to toggle the device category where you want this tag inserted:


To create a hook that would insert the code into the section of the site’s source code and be able to separate header tags for different ad maps, click on the gear icon > Hooks tab. Enable the hook and give it a name. For the “action” field, put wp_head (see below example), click Save Settings.

Advanced Ads vs. Ad Inserter | Who wins?
When comparing Advanced Ads and Ad Inserter, it becomes clear that Advanced Ads surpasses Ad Inserter in several crucial aspects.
Firstly, Advanced Ads excels in user-friendliness with its intuitive dashboard and streamlined setup process, making ad management accessible even for beginners. On the other hand, Ad Inserter can be overwhelming for newcomers due to its steeper learning curve.
Additionally, Advanced Ads offers a wider range of options for ad placement, allowing for greater versatility in positioning ads. It also stands out in ad scheduling and rotation, providing robust features that ensure campaigns run smoothly.
Furthermore, Advanced Ads outshines Ad Inserter in A/B testing and optimization capabilities, helping users maximize ad revenue. Its integration with Google Ad Manager also sets it apart as a preferred choice for websites reliant on Ad Manager for ad serving.
Moreover, Advanced Ads includes ad blocker detection, a feature Ad Inserter lacks, allowing for tailored messaging to users with ad blockers enabled. Lastly, Advanced Ads boasts exceptional support and documentation, providing a vibrant community and extensive resources for troubleshooting and implementing advanced ad strategies.
In conclusion, Advanced Ads proves to be a superior choice over Ad Inserter in various key aspects, ultimately offering a more comprehensive and user-friendly ad management solution.
Pricing
Ad Inserter:


Advanced Ads:


Our Comparison & Rating
| Advanced Ads | Ad Inserter | |
| Overall Ad Management | ⭐️⭐️⭐️⭐️⭐️ | ⭐️⭐️⭐️⭐️ |
| Performance | ⭐️⭐️⭐️⭐️ | ⭐️⭐️ |
| Pricing | ⭐️⭐️⭐️⭐️ | ⭐️⭐️⭐️ |
Conclusion
If you find yourself caught in the dilemma of choosing between Ad Inserter and Advanced Ads, or if you require assistance in effectively implementing these plugins, worry not. By registering for a Professional account at MonetizeMore, you can avail the expertise of our ad ops specialists. They will guide you in determining the most suitable plugin for your website and assist you in the setup process. Take the hassle out of decision-making and implementation by letting our professionals support you every step of the way.


")